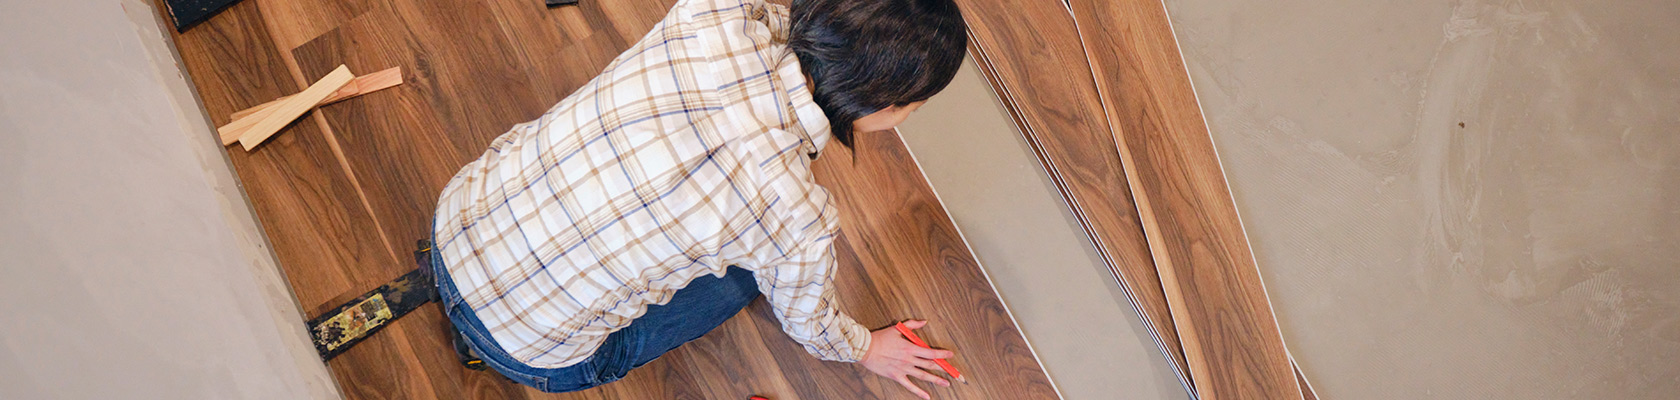
Are you ready to give your home a fresh new look with laminate flooring? Laminate flooring is not only stylish and durable but also relatively easy to install. However, proper preparation is key to achieving a professional finish. Before you dive into the installation process, make sure you follow these essential steps to ensure a smooth and successful laminate flooring project.
Once you follow these steps, head on over to our “How to Install Laminate Flooring” guide.
 Step 1: Acclimate the Laminate
Before you start installing your laminate flooring, it’s crucial to acclimatize the planks to the environment. Leave closed packages of laminate flooring in the room where you plan to install them for at least 48 hours. This allows the planks to adjust to the temperature and humidity of the space, reducing the risk of expansion or contraction after installation.
 Step 2: Prepare the Area
Carefully remove existing baseboards.
Prepare the subfloor according to the manufacturer’s guidelines. This typically involves ensuring that the subfloor is clean, level, and dry. Any irregularities or imperfections should be addressed, as they can affect the appearance and stability of your laminate floor. Remove any protruding nails.
 Step 3: Check Clearances
Make sure there is at least 1/2 inch between the surface of the flooring and the bottom of the electrical baseboard heater to allow heat to circulate.
Inspect the clearances around doors and door frames in the installation area. You may need to make adjustments to accommodate the laminate flooring. Trim the door moldings with a saw to create space for the planks to slide underneath.
 Step 4: Choose Direction of Installation
Deciding which direction to lay your laminate planks is an important design choice. As a general guideline, it’s often recommended to lay the planks perpendicular to the wall with a window. This can make the room appear more spacious. Alternatively, you can lay the planks parallel to the longest wall for a different visual effect. Consider the aesthetics of your space and choose the direction that suits your style.
Step 5: Inspect the Laminate Planks
Before you start installing the laminate flooring, carefully inspect the planks for defects. Check for chips, color discrepancies, or sheen differences under good lighting conditions. Ensure that the tongue-and-groove channels are clean and free of debris. Any damaged planks should be replaced before proceeding with the installation to ensure a flawless result.
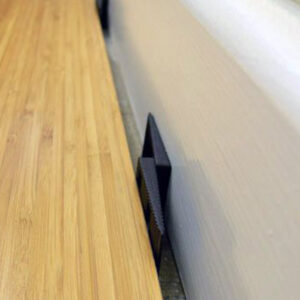
Step 6: Mind the Gap
Laminate flooring expands and contracts with changes in temperature and humidity. To accommodate this movement, you must leave an expansion gap around the perimeter of the room and any fixed objects, such as door frames, fireplaces, or cabinets. For rooms up to 25 feet long or wide, maintain a minimum 3/8 inch gap, while rooms greater than 25 feet should have a minimum 5/8 inch gap.
Now that you’re familiar with these important preparation steps, you’re ready to embark on your laminate flooring project. Proper preparation is the key to achieving a beautiful and long-lasting result. By following these guidelines, you’ll be well on your way to enjoying the benefits of your new laminate flooring.
Questions? Visit a Paint Shop near you. Our in-house flooring experts can help get you started.