Congratulations on your decision to install laminate flooring! This versatile and attractive flooring option can transform the look of your space. To ensure your installation goes smoothly, we’ve created this step-by-step guide for you to follow.
Read on, then download this handy how-to guide for when you’re ready to start.
Before You Start…
…don’t forget the prep! Read our “Preparing to Install Laminate Flooring” guide to get your flooring project off on the right foot, then come back here to finish the job.
How Laminate Works
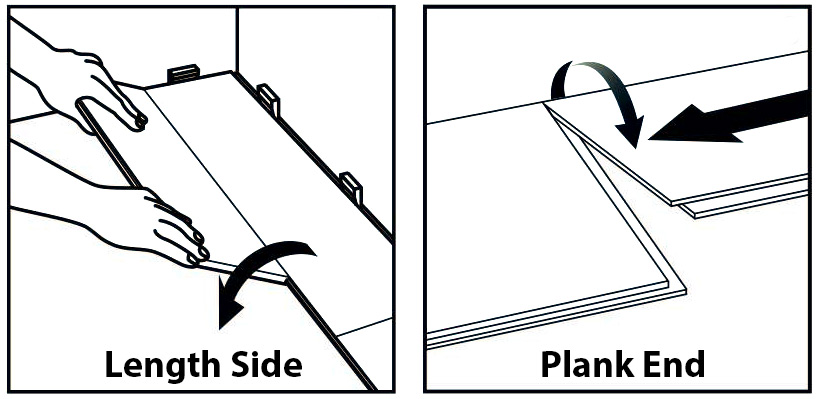
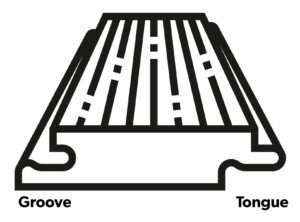
Laminate planks are designed to click together at a 45° angle on the length side. When connecting the ends of the planks, simply fold them down to join, ensuring a snug fit.
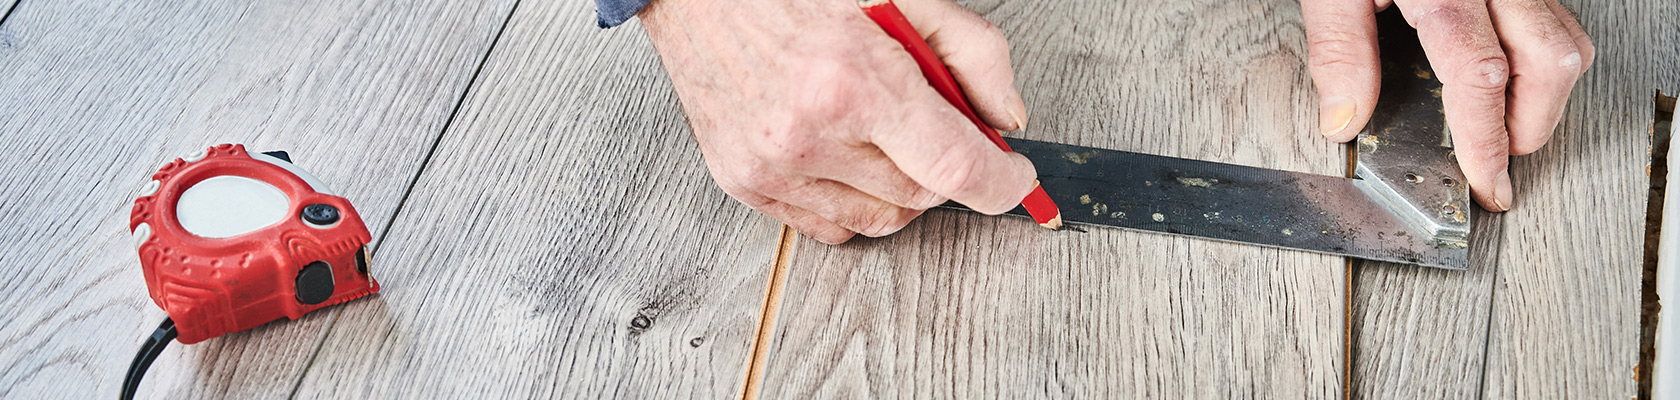
Step 1. Measure and Prepare
Measure the room to establish its squareness and determine the width of the last row. If the width of the last row is less than 2 inches (excluding the bottom lip of the groove), you’ll need to adjust the first row accordingly. Remove the tongue on the first row and the bottom lip of the groove on the last row. For rooms wider or longer than 33 feet, use T-moldings to ensure a stable and visually appealing installation.
Step 2: Cut with Care
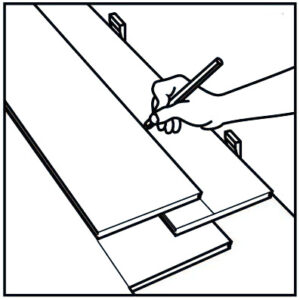
In cases where the wall along the first row of planks is irregular, scribe the planks to fit the wall and make precise cuts for a clean finish.
When cutting a plank, it’s essential to pay attention to the orientation. If you’re using a portable electric saw, such as a jigsaw, ensure that the decorative surface is facing up. For circular table saws, the decorative surface should be facing down to prevent chipping or splintering.
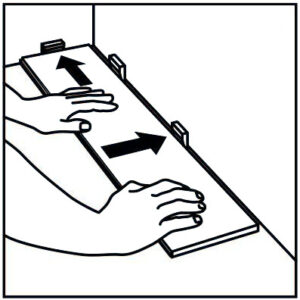
Step 3: The First Row
Always start laying your planks from left to right, with the tongue side against the starting wall. Maintain a 3/8-inch to 5/8-inch spacer between the wall or any fixed objects (e.g., door frames, fireplaces, cabinets) and the planks on either side of each joint and at the far ends of each plank.
The last plank in a row must be at least 12 inches long. Remove the groove on the last plank, and measure the first row before installing. If the last plank is at least 12 inches long, cut the first plank and install the first row accordingly.
Step 4: Next Steps
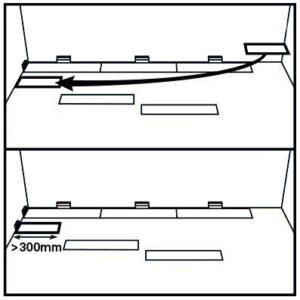
For the first plank of the second row, you can use the cut plank left over from the first row, provided it is more than 12 inches (300mm) long. If it’s less than 12 inches (300mm), use a new plank, cutting it to ensure it’s at least 12 inches (300mm) away from the joint of the first plank in the first row. Always remove the bottom lip of the groove and the tongue from the ends of the planks against the walls.
For a stronger and more natural-looking floor, stagger the joints in each row by at least 8 inches. This adds to the aesthetic appeal and enhances the stability of the installation.

Final Thoughts
After completing the installation, remove the spacers and install moldings and trims. It’s crucial not to nail the moldings to the laminate floor, as this can damage the surface.
Always refer to the manufacturer’s installation instructions to avoid any mistakes that could void your warranty. Improper installation can have costly consequences.
In the event that you need to replace a plank, follow a careful unclicking process, beginning with the last plank installed until you reach the problem area. Replace the damaged plank(s) and re-install your floor planks in the exact order they were removed.
Now that you’re equipped with this comprehensive guide, you’re ready to tackle your laminate flooring installation with confidence. Whether you’re a seasoned DIY enthusiast or a novice, following these steps will help you achieve a professional finish.
Still have questions? Visit a Paint Shop near you. Our in-house flooring experts can advise on how to install laminate flooring or, depending on the store, do the install as well!
Tools and Essentials
• Pencil
• Measuring tape
• T-square (Or reliable straight-edge tool)
• Saw (Circular or table saw)
• Underlay
• Laminate Flooring (Buy more than the measure of your room to account for cutting)
• Rubber mallet (Optional)
• Wooden spacers (Available from your Paint Shop flooring expert)
More great Paint Shop laminate flooring resources:
• See our full selection of Ready Ship laminate flooring.
• Find out about AC ratings and why you should know about them when shopping for flooring.
• Check out the latest paint Shop flooring deals.