
Feel like you’re in over your head with painting a ceiling? Don’t worry. Our paint shop experts have put together a handy step-by step guide for ceiling success.
Read on, watch the video for tips, then download this handy how-to guide for when you’re ready to start.
Step 1: Don’t Skip the Prep
The ceiling is considered the “fifth wall” of your room, so when painting, apply the same care you would bring to any other paint job.
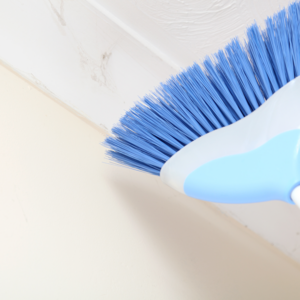
Clean the entire ceiling ridding the surface of dust, cobwebs and general surface grime. Paint will adhere poorly to a dusty ceiling.
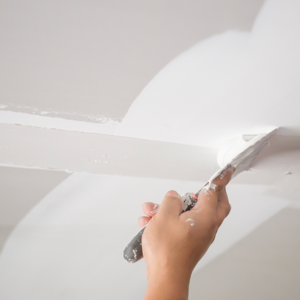
Prepare any cracks or holes with spackling or drywall compound and sand flush before using latex Gyproc primer. Removing ceiling fixtures will make the job easier but be sure to turn off power to the fixtures before removing.
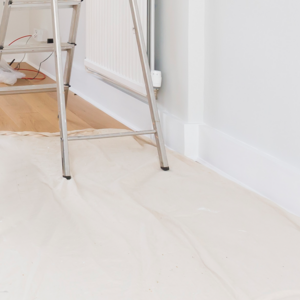
Cover the floor and any larger furniture with drop cloths or plastic film, taping down to baseboards or to edges of floor if there is a risk of the drop cloth or plastic moving from a surface.

Step 2: Choose the Right Paint
Always use ceiling paint as opposed to wall paint; it’s flatter in sheen and reflects less light, thus showing less imperfections.
Consider colour options. A standard white ceiling paint will certainly brighten a room, but a coloured ceiling may make the room more dramatic, cozier or even bigger. Speak to a Paint Shop colour expert to help decide what suits your room best.
Step 3: Prime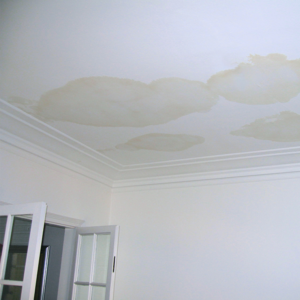
You may need to prime before you paint. You can prep water and mildew stains with appropriate oil based/shellac-based or alcohol-based primers. Our staff can help you pick the right one for your job.
Ensure any water or mildew stains have been investigated and solved so that your painting project doesn’t fail. Just covering up an ongoing wetness or mildew issue will cause you problems before too long again!
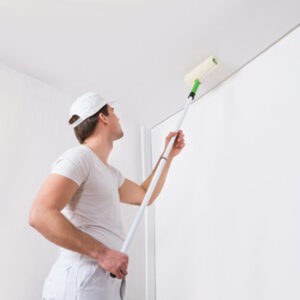
Step 4: Start Rolling
Now it’s time to paint! Here are some tips to get the best results:
Using a heavier nap roller, in 15mm range, will apply a thicker coat of paint, allowing you to work quicker and will help avoid lap marks.
Don’t roll directly over your head, roll outwards from your body position, as it will be easier on your neck and less splatter coming directly down on top of you and less pressure on your roller, helping to avoid roller pressure marks.
Stay cool! Turn down the heat at least an hour before painting begins. Ideally, the temperature should be around 18 degrees Celsius and humidity should be at 50%.
For more tips watch this video as Benjamin Moore Rep, Ian Callaghan and Keith Murphy of KM Coatings explain how to paint a ceiling like a pro.
Still have questions? Feel free to drop by your local Paint Shop for more expert advice. Find a store near you >>
You can also see tips and advice by visiting our YouTube channel YouTube.com/@PaintShopCanada and go to the How-To playlist.
Happy painting!
Shopping List
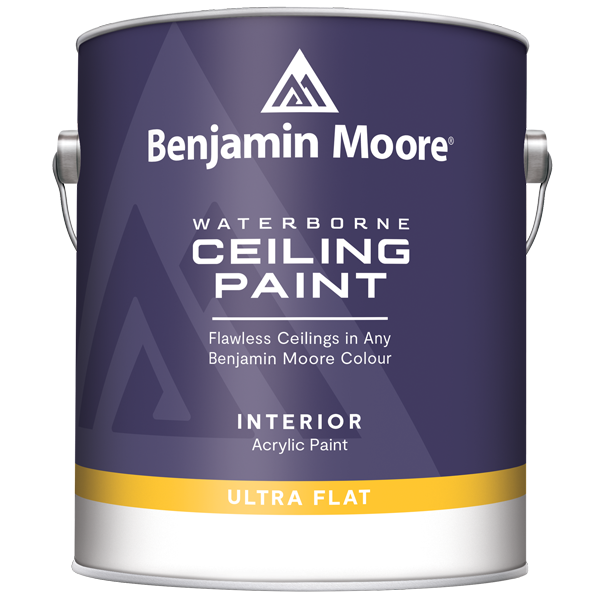
Waterborne Ceiling Paint
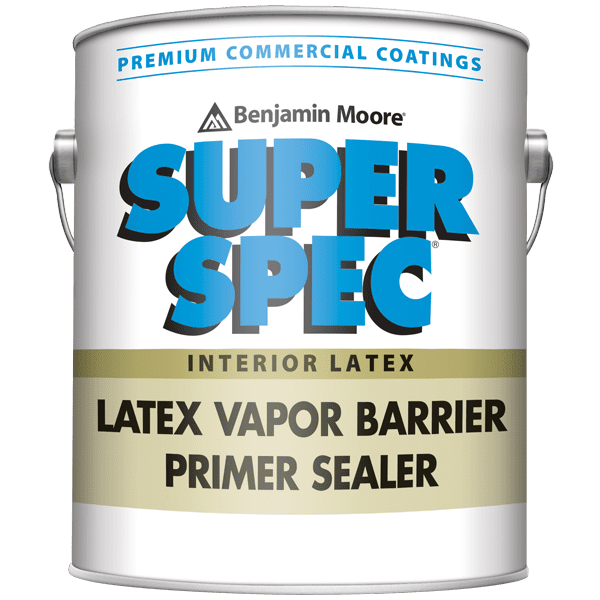
Super Spec Primer
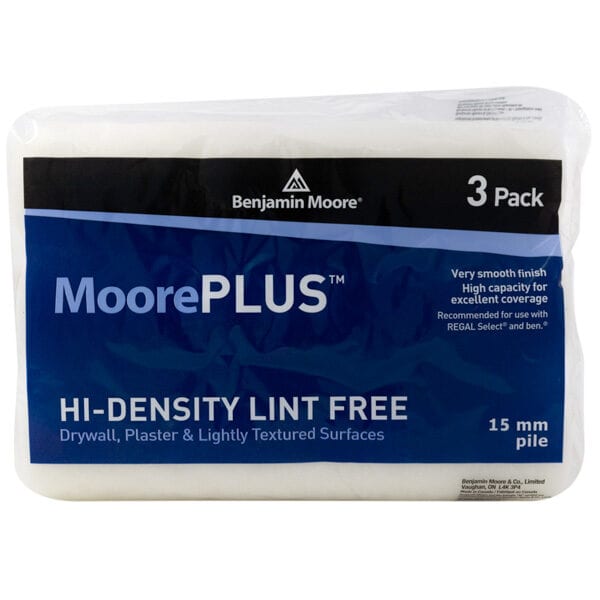
Moore Plus Roller Refills
Extension Pole
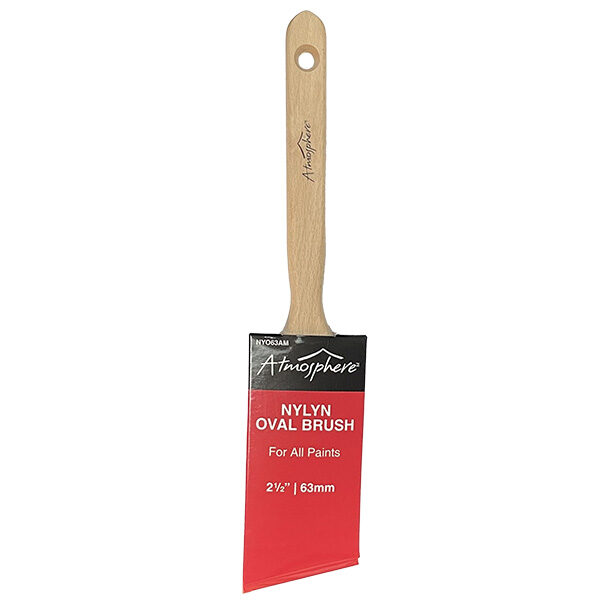
Atmosphere Oval Angled Brush
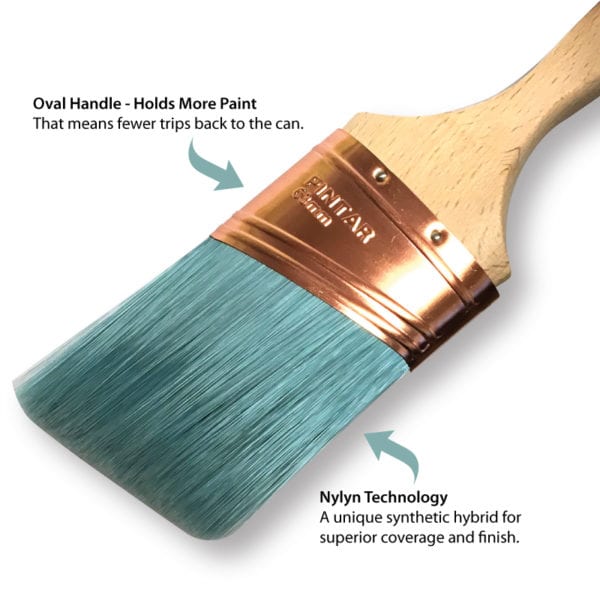
Atmosphere Oval Angled Brush
2" Frog Tape

Atmosphere Drop Cloth
Temperature and Humidity Gauge
Benjamin Moore Extender