Say Goodbye to Wall Woes
You know that wall in your house? The one that’s pristine except for that small hole, dent or nail pop? We know, its driving you up the wall, right? Unfortunately, not all paints are the same and painting over cracks and holes with an inferior coating could make them more noticeable. Read on to find out how to touch-up the paint on your walls and refresh your space.
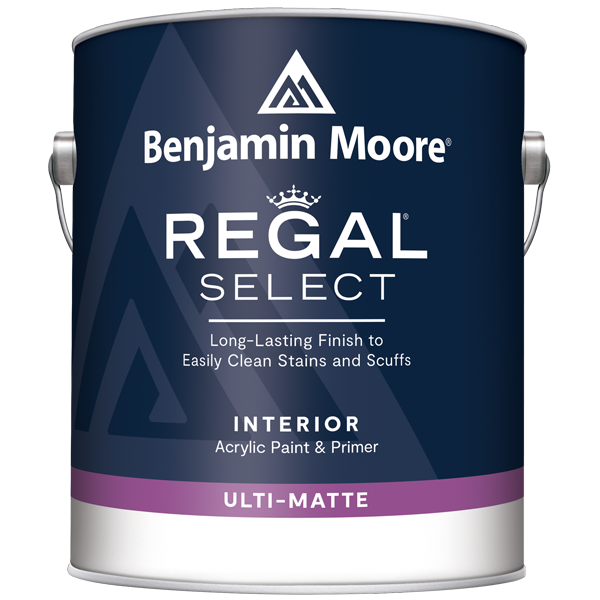
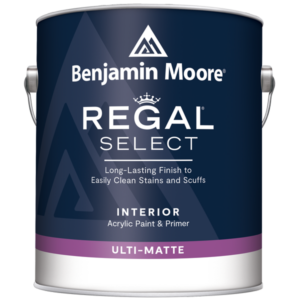 Step 1: Choose Regal Ulti-Matte Interior Paint
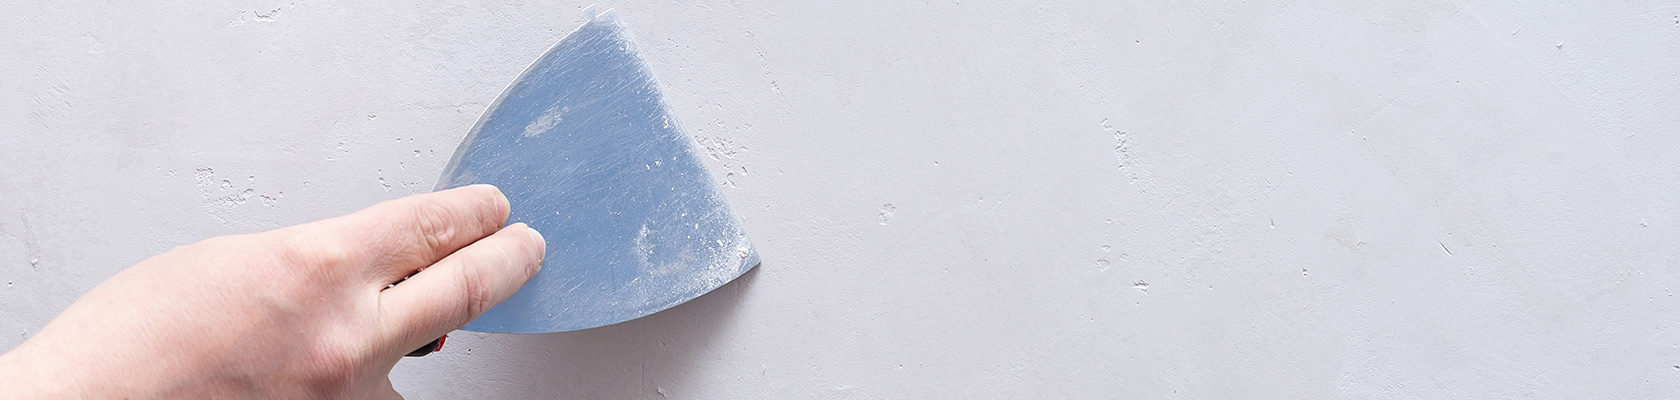
As paint ages, it loses some of its sheen, when new paint is applied over the dulled sheen it tends to stick out like a sore thumb. The key to doing touch-ups later to be proactive and paint your home with Regal Ulti-Matte at the beginning.
With Regal Ulti-Matte, you get a flat finish right from the get-go. Low sheen from the start means you don’t have worry about the re-painted area being obvious when touch ups are needed.
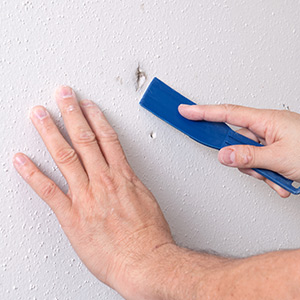 Step 2: Make the Hole Bigger
Trust us. Widen the crack first gently with a utility or putty knife and remove any loose material. Create a trench that is deeper and slightly larger than the crack. For long cracks, remove the plaster or sheet rock material at intervals to help the filler hold. For small holes, use a utility or putty knife to dig out the hole and make the inside of the hole bigger than the outside. This will provide space for the filler to fill and prevent it from falling back out.
After this step, you’ll want to brush or vacuum the area to remove dust and debris. Wipe the area clean with a damp cloth before reaching for the filler.
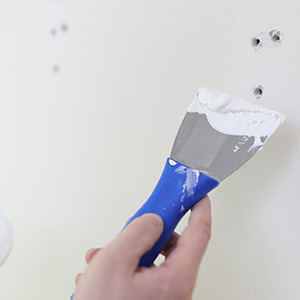 Step 3: Fill Your Boots
Now you’re ready to get spacklin’. For smaller areas, use a small, flexible putty knife to apply the spackle or joint compound. Use a bigger knife for bigger areas.
For the smoothest finish, spread multiple thin layers of filler rather than one thick one. Add as many layers as necessary, making sure that each layer is dry before adding another.
After the layers of filler are completely dry, sand as needed with fine-grade sandpaper to smooth and blend the repair work into the wall. Before painting, be sure to wipe any dust from the wall with a clean cotton cloth. You’ll then need to prime the repaired areas to help seal the filler and keep it from absorbing paint.
For best results, whatever the product, be sure to carefully read and follow all instructions provided by the manufacturer.
When in doubt, chat with your local Paint Shop team for best results. Find a store near you with our store locator.
Shopping List
Bennett Micro Pro Mini Roller Kit 4pc

Dap Dry Dex Spackling
HANDy Paint Cup

Atmosphere Drop Cloth
Wooster Shortcut Trim Brush