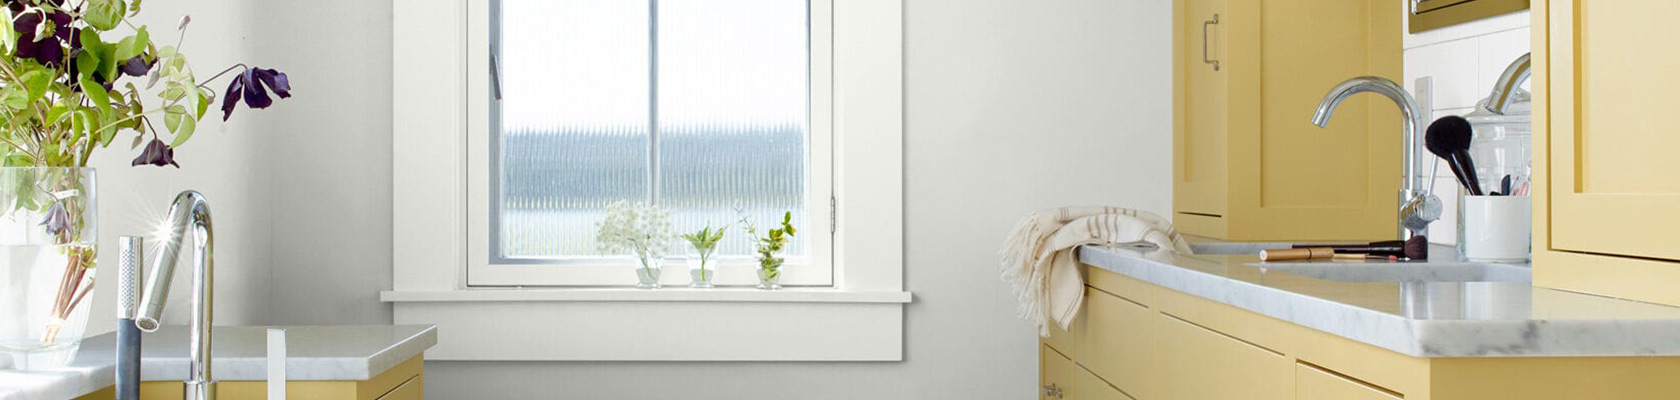
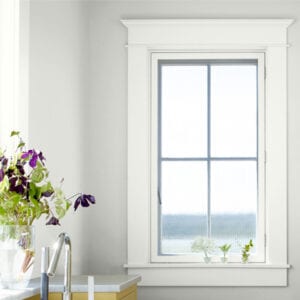
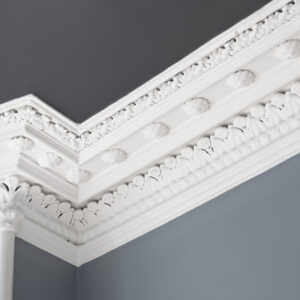
A room is not complete until the trim is done! It is the final step in any interior painting project. The Paint Shop carries great Benjamin Moore brands for painting trim, including Advance which offers a smooth, durable finish perfect for trim.
Follow our step-by-step guide to add the perfect finishing touch to your DIY project.
Step 1: Choose your paint & brush.
We recommend either Advance, Regal or ben® Interior Paint for trim. The most popular choices are one with a slight sheen as this is more durable. It is very important to match your trim to your walls and our staff can help you make that choice.
Use polyester or nylon brushes for water-based paint. A natural-bristle brush can be used for oil-based paint. We recommended our Atmosphere Nylyn Angled Brush. Read our Atmosphere Nylyn Brush article for more information.
Step 2: Inspect the trim
Fill any gaps between the trim and wall with caulk. Repair any damage to trim areas like dents, cracks, and nail holes with a lightweight spackling compound and clean thoroughly once dried before painting.
Step 3: Give it a Scuff
Lightly scuff the surface with 120-grit sandpaper and clean. This step will help your primer adhere to the surface, help break the smooth surface on new factory-primed trim and on existing, already painted trim it will get rid of any lumps, paint drips and imperfections from the previous paint job.

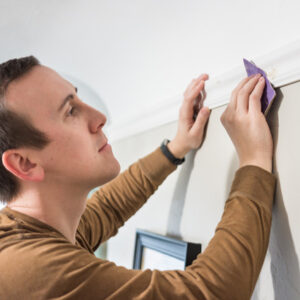
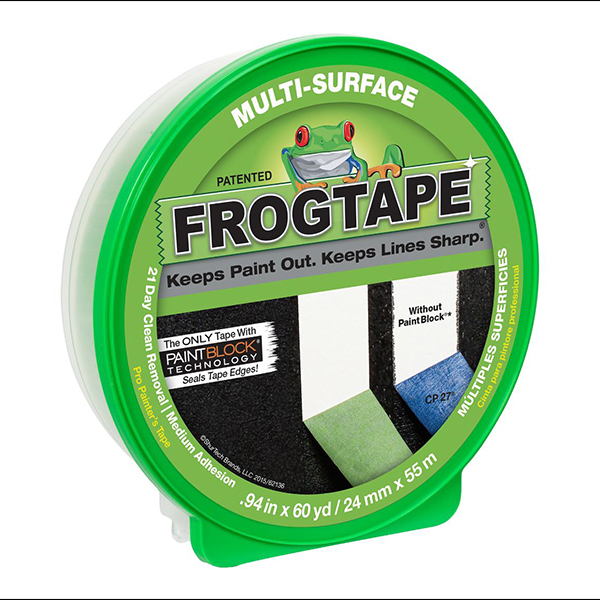
Step 4: Prep Before Paint
Use painter’s tape to mark off trim if needed and apply primer. Dust off walls, windows, ceilings and floors around the trim to be painted so painter’s tape adheres well. Use tape to give clean cut-ins on windows and floors where the baseboard meets flooring. If walls were recently painted, ensure they are completely dry before adhering tape to them.
Step 5: Getting Painting
Apply the paint in smooth strokes. Apply lightly and evenly to allow Advance to level to a smooth finish. Dip no more than 1” of the angled brush into the paint and clean excess on side of tray or can to avoid overloading the brush or creating drips.
Let paint dry thoroughly before removing the painter’s tape.
Have more questions? Speak with an expert at your local Paint Shop about all things trim and get the answers you need.
Happy painting!
Shopping List
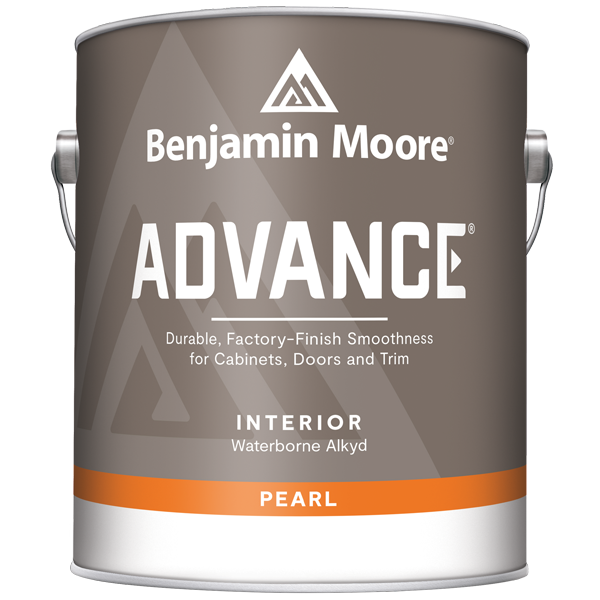
Advance Interior Paint
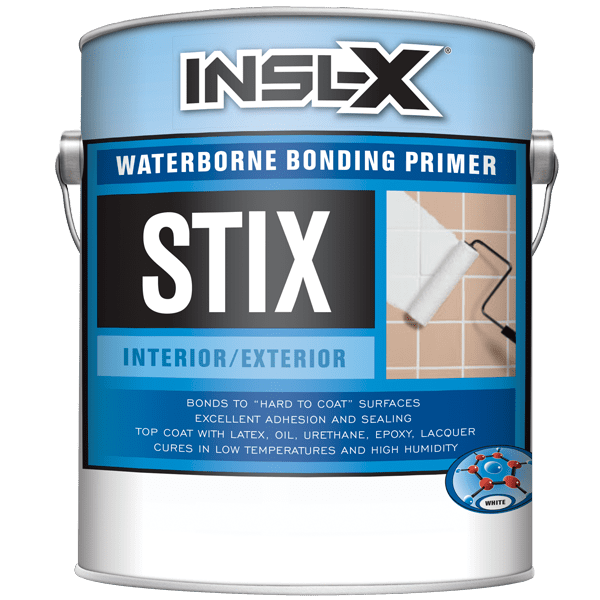
Stix Primer
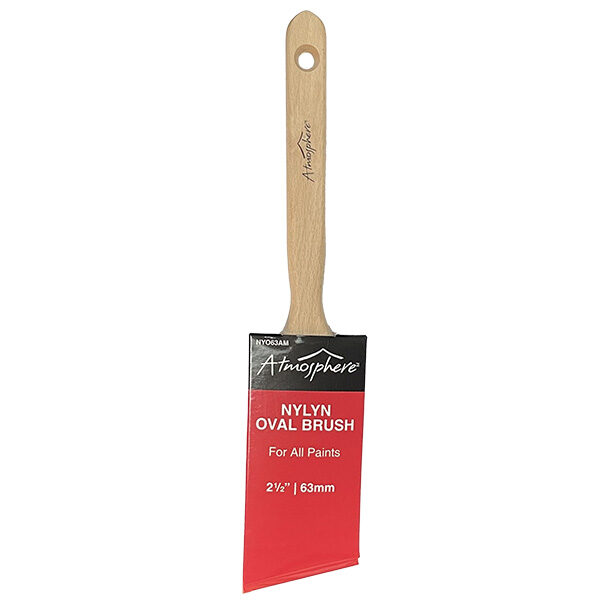
Atmosphere Oval Angled Brush
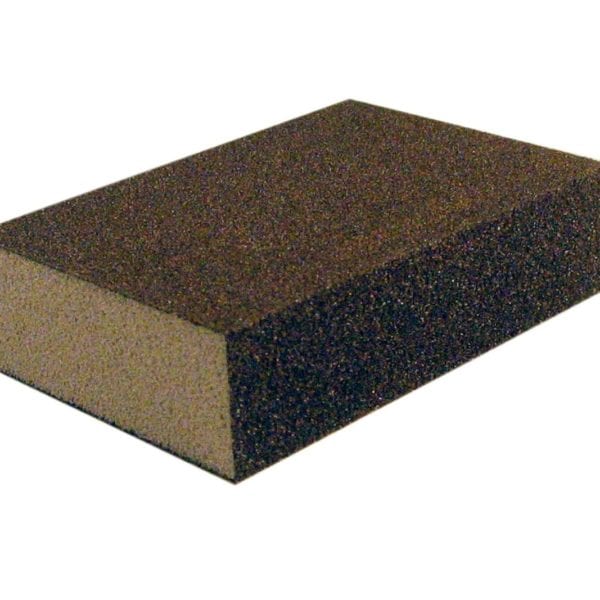
Fine Grit Sanding Sponge
Frog Tape Painter's Tape