Instead of buying costly new furniture, give your existing wood or laminate pieces a new look by painting your furniture with the help of Advance by Benjamin Moore.
It’s so rewarding to take something old and make it new again. But, if you’re a beginner, we suggest you start small. Think of tackling a nightstand or an end table before you update Nan’s 100-year-old China cabinet. Once you are comfortable with the process, you can move on to larger pieces.
Before you read on, watch this video tutorial. We partnered with our favourite DIY’er, Krista Wells. You can get more advice from Krista on her Instagram channel @georgestownonmymind.
When you’re ready, you can download this handy how-to guide to help you with your project.
WAIT! Before you dive in, take a before photo! Take a picture of the old piece, to pair with the “after” photo when you’re all done. When you’re ready to brag, tag us in the before and after photos on Facebook, or Instagram. We’re @paintshopcanada, and we’d love to see your project results!
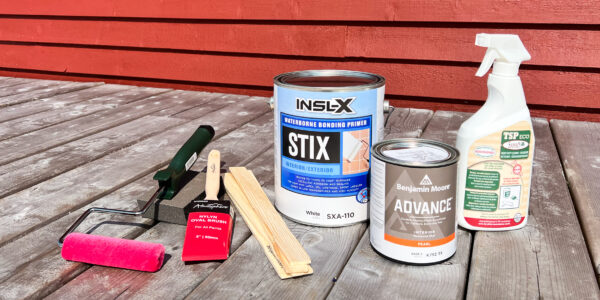
Step 1: Gather Your Supplies
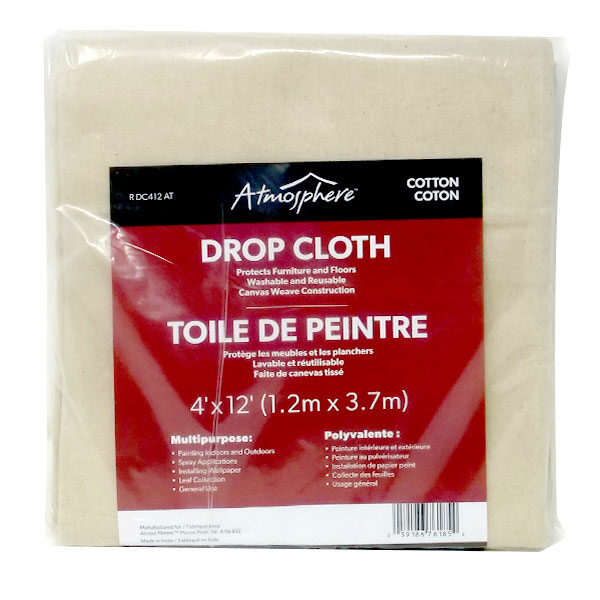
Drop by your local Paint Shop with your shopping list and we will make sure you get off on the right foot. Get your space ready by using a drop cloth or even a piece of old cardboard.
Step 2: Prepare Furniture for Painting
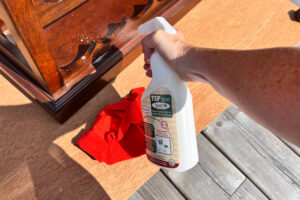
As with anything you paint, ensure the surface is clean, dry, and ready to accept paint. Use a gentle grease remover, like rinse-free Saman Ready to Use TSP, to remove any dirt and grime.
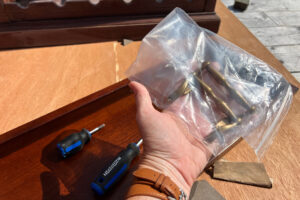
Make sure to remove hardware and store in a safe place. Krista’s pro tip is to use a baggy to keep them safe and sound.
Step 3: Sand
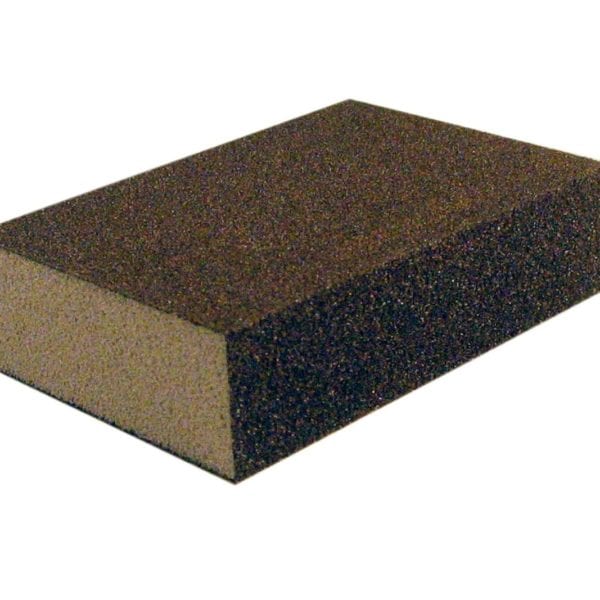
Once your furniture is 100% dry, it is time to grab your 100- to 150-grit sandpaper to sand down your surfaces. Be careful not to sand away the current finish entirely; it should be just enough to give the primer something to grab onto.
Wipe away any dust with a slightly damp cloth, then let dry.
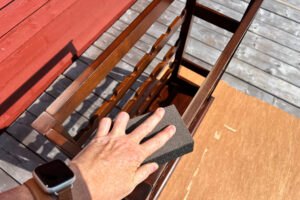
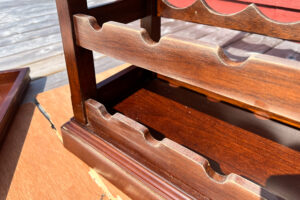
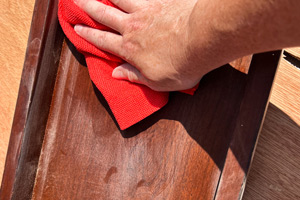
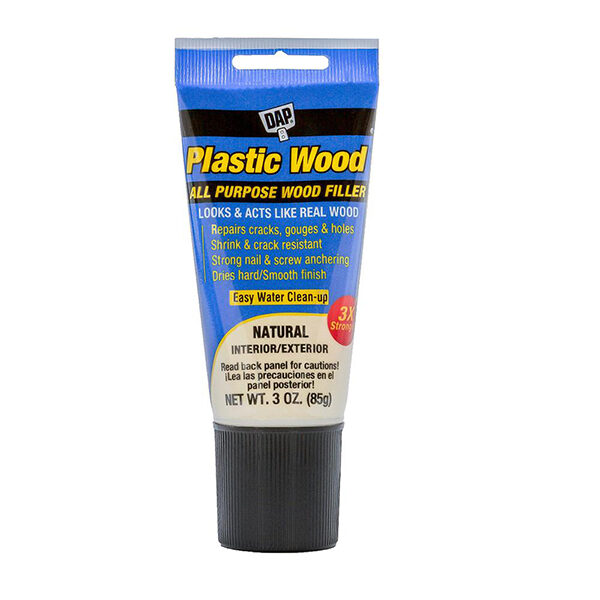
Repair cracks, joints, or nail holes with a good wood-patching compound like DAP Premium Wood Filler. After the compound has thoroughly dried, sand it down to make it even with the surrounding wood. Wipe away any further dust again and let dry.
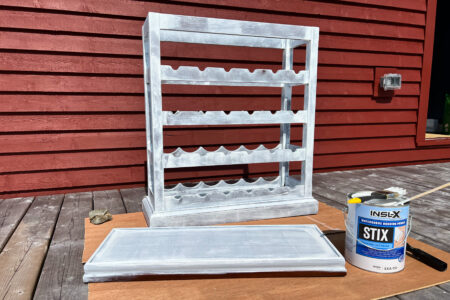 Step 4: Prime with Stix
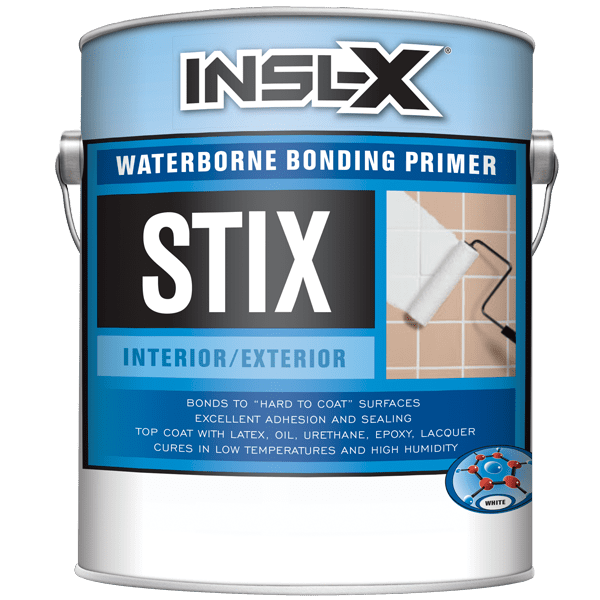
Providing the proper foundation for your paint is essential to getting a flawless finish. STIX Waterborne Bonding Primer by Benjamin Moore offers excellent adhesion to virtually any surface, whether its solid wood, plastic, laminate or glass. It levels well and can be sanded to ensure a smooth finish to help mask any imperfections. When painting furniture a darker colour, use a tinted primer for maximum coverage.
Step 5: The Fun Part – Paint!
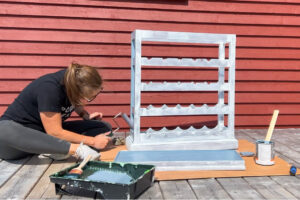
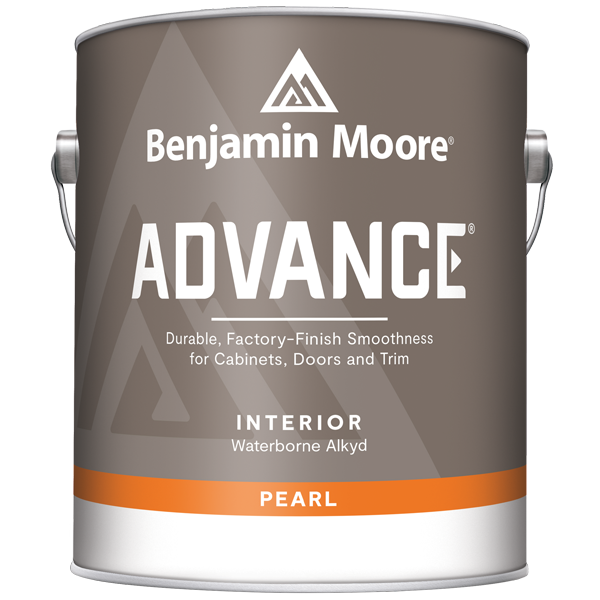
Choose a colour from over 3,500 paint colours! Pearl sheen is the most popular finish for furniture as it has a nice soft natural look that is very durable. For a sleek, modern feel, you may want to try using a high-gloss finish for dramatic impact. The Paint Shop recommends Advance Interior Paint to the pro’s and the DIY’ers. It offers a durable finish that is easy to apply and even easier to clean.
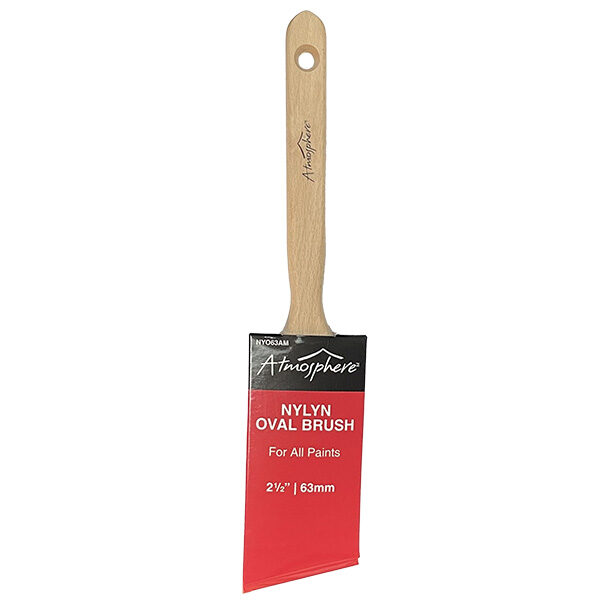
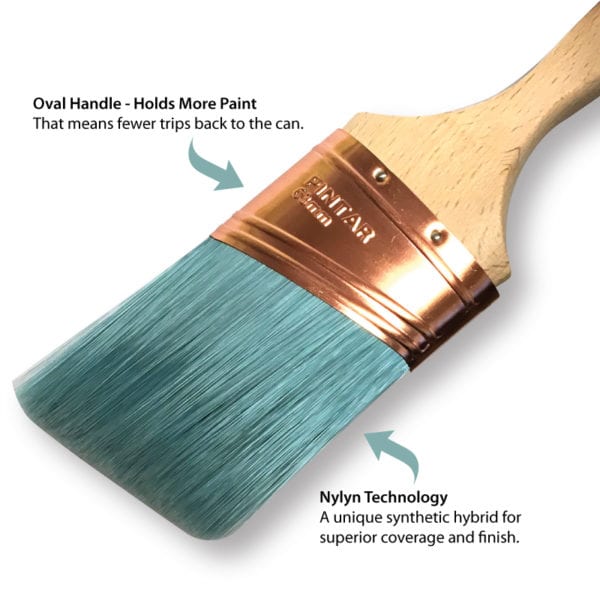
Start by applying your first coat with a brush to fill in all the crevices and with a 4″ roller, paint the flat surfaces and smooth out the brush marks. Once completely dry, sand again with 220-grit sandpaper, wipe away dust with a damp cloth and apply second coat. Wait for paint to dry 24 hours before reattaching hardware. After reinstalling hardware, please allow 5 – 7 days for Advance to fully cure.
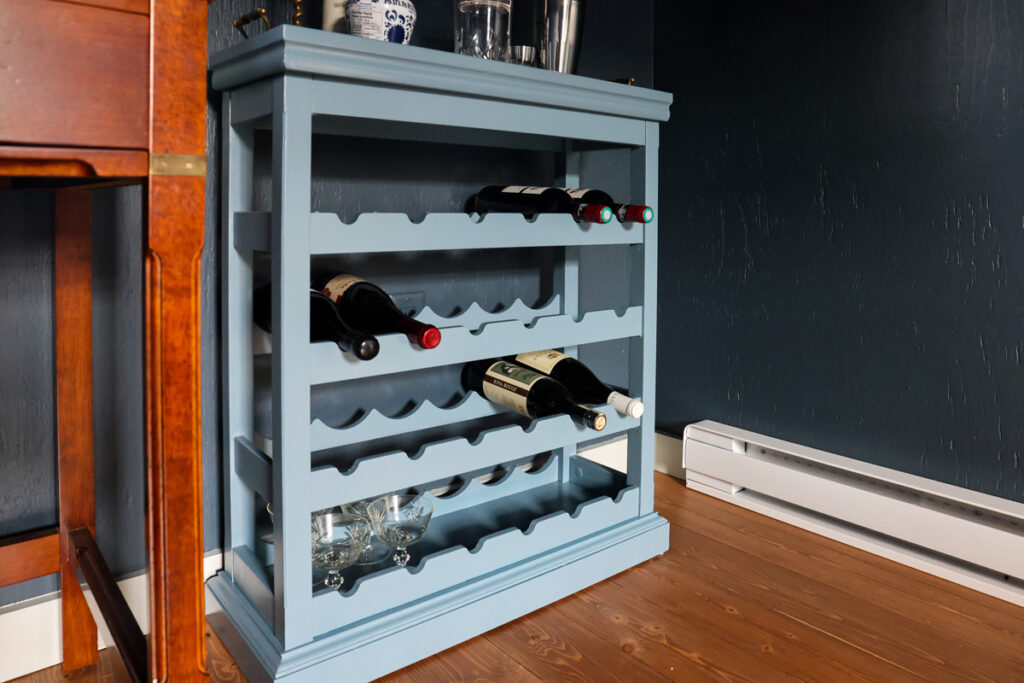
And that’s it! Enjoy your finished project!
![]()
Have more questions? Visit your local Paint Shop for advice on the best colour and finish to breathe new life into old furniture.


